
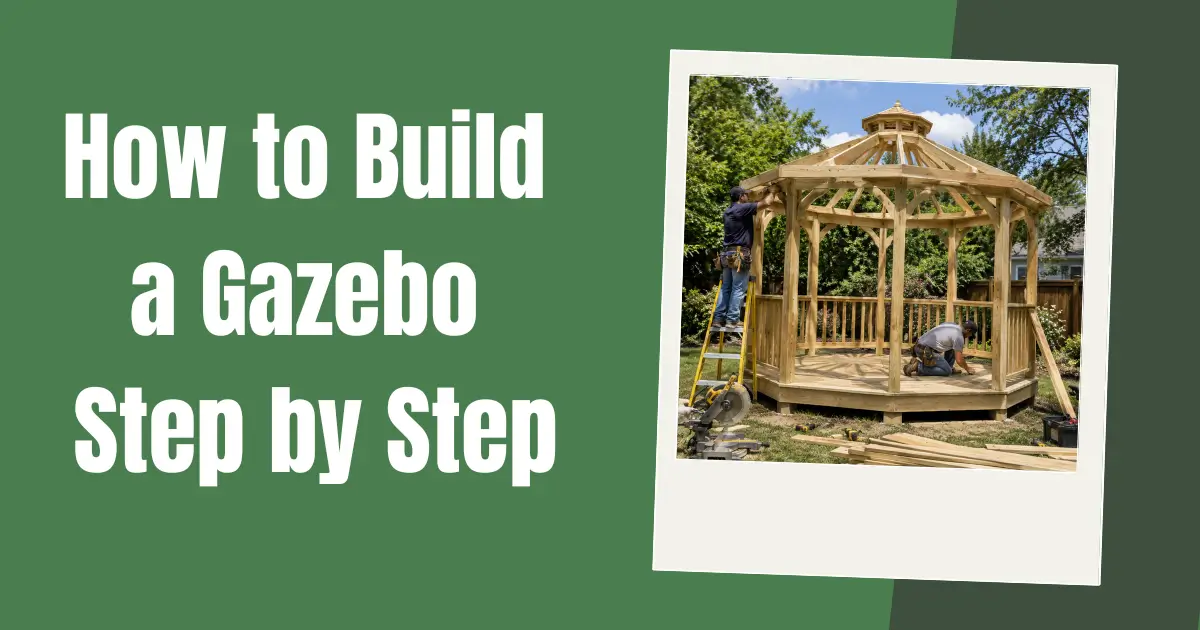
You can build a basic gazebo in a single weekend using standard lumber, basic tools, and a clear plan. Most beginners complete their first build in two to three days depending on the size and style they choose.
Building your own gazebo is more straightforward than most people think. The process breaks down into clear stages and as long as you follow each one in order, you do not need any prior construction experience to get a solid result.
This guide walks you through every stage from planning and materials all the way to the finishing touches. By the end you will know exactly what to do, what to buy, and what mistakes to avoid before you even pick up a single tool.
Step 1: Plan Your Gazebo Before Anything Else
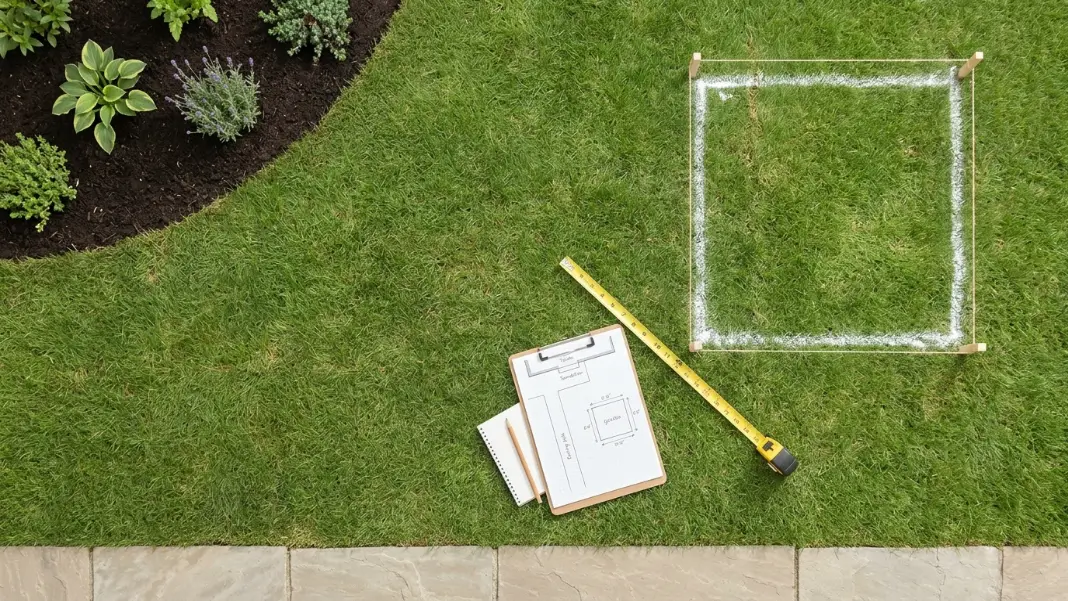
The planning stage is where most beginners either set themselves up for success or create problems they deal with all the way through the build. Start by deciding on the footprint size and shape before you think about anything else.
A 10×10 foot square or a 12-foot hexagon are the most beginner-friendly sizes. They are large enough to fit furniture comfortably but small enough to manage without a large crew or heavy equipment.
Common Beginner-Friendly Sizes
- 10×10 foot square
- 12×12 foot square
- 10-foot hexagon
- 12-foot hexagon
Check Local Zoning and Permit Rules
Before you buy a single board, contact your local building department and ask about permit requirements for outdoor structures. Permanent gazebos over a certain square footage often need a permit, and skipping this step can create serious problems when you sell the property later.
What to Ask Your Local Building Department
- Minimum setback distance from property lines
- Maximum structure height allowed
- Foundation requirements for your area
- Permit fees and processing time
- Inspection requirements during the build
Step 2: Choose Your Materials
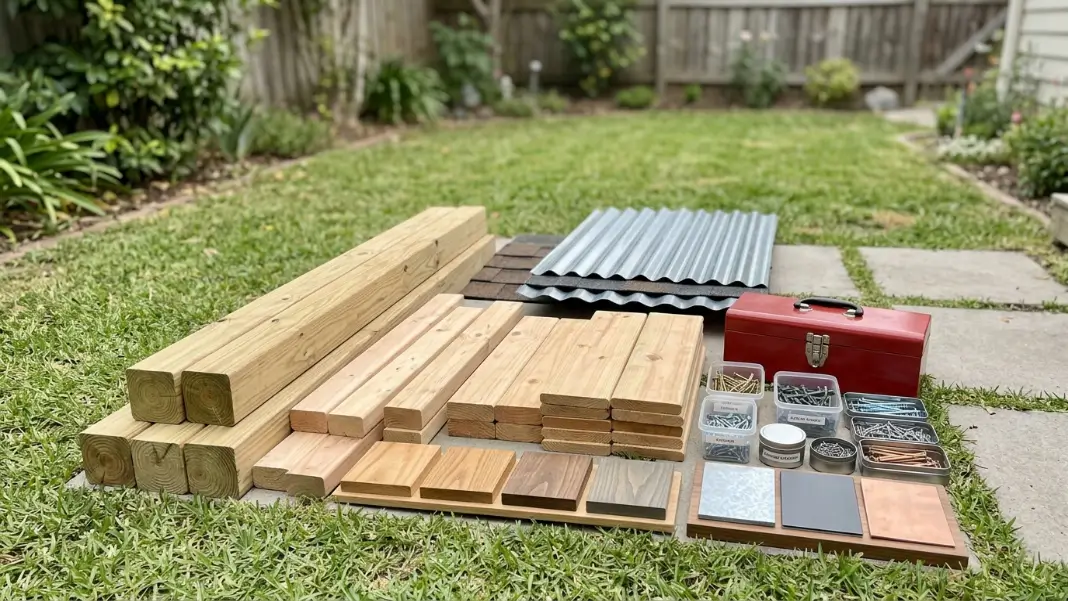
Cedar and pressure-treated pine are the two best material choices for a first-time gazebo build. Cedar is naturally rot and insect resistant and requires less maintenance over time. Pressure-treated pine costs less upfront and is widely available at every hardware store.
Avoid using untreated dimensional lumber for any part of the structure that contacts the ground or stays exposed to moisture. It will rot faster than you expect and the whole structure suffers as a result.
Material Comparison at a Glance
- Cedar: natural rot resistance, ages beautifully, costs more
- Pressure-treated pine: affordable, widely available, needs finishing
- Redwood: premium option, excellent durability, harder to source
- Composite: low maintenance, higher cost, good for decking
Build a Complete Materials List Before Shopping
Write out every piece of lumber, every fastener, every bracket, and every tube of sealant before you go to the store. Experienced builders call this a take-off and it prevents the most common beginner problem which is making five extra trips to the hardware store mid-build.
Basic Materials List for a 10×10 Gazebo
- 4×4 posts for corner supports
- 2×6 beams for the perimeter frame
- 2×4 rafters for the roof structure
- Galvanized joist hangers and post bases
- Concrete for footings
- Exterior wood screws and lag bolts
- Roofing material of your choice
- Wood sealant or stain
Step 3: Gather Your Tools
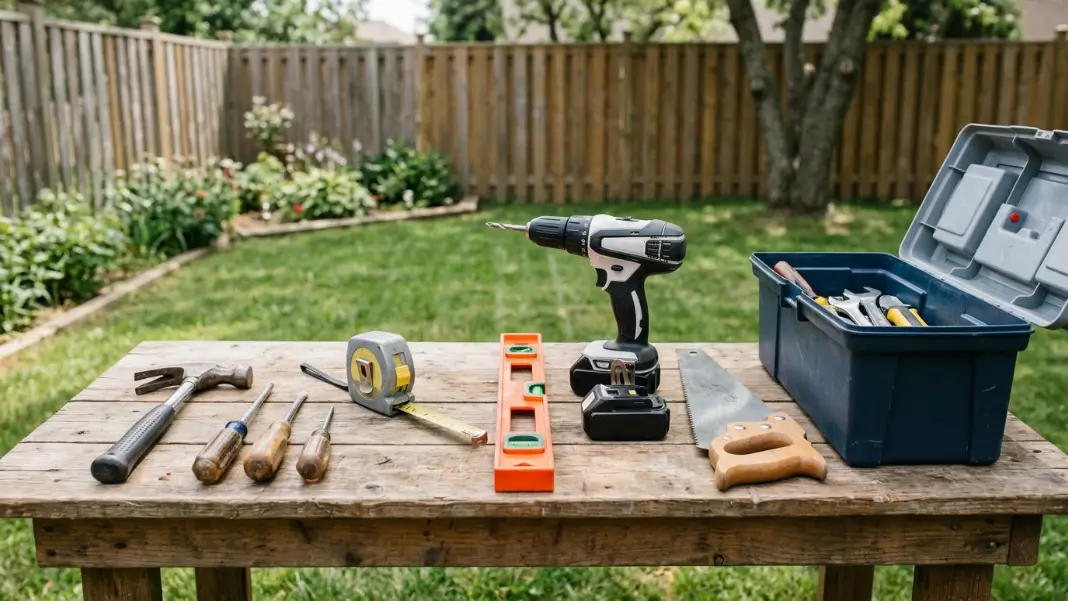
Most of the tools needed for a basic gazebo build are ones you likely already own or can rent from a hardware store for the weekend. Do not let a missing tool stop you from starting since rentals are cheap and widely available.
A circular saw, drill, level, tape measure, and speed square will handle the majority of the cuts and assembly tasks in this build. A post hole digger is the one specialty tool most people do not own and the one most worth renting.
Tools You Will Need
- Circular saw or miter saw
- Power drill and bits
- Post hole digger or auger
- 4-foot level and torpedo level
- Tape measure
- Speed square
- Hammer and rubber mallet
- Safety glasses and work gloves
- String line and stakes
Rent Instead of Buying for One-Time Tools
A gas-powered auger for digging post holes makes the job dramatically faster than a manual digger and most rental centers charge around 50 to 75 dollars for a full day. For a single weekend project, renting almost always makes more sense than buying.
Tools Worth Renting Rather Than Buying
- Gas-powered post hole auger
- Pneumatic nail gun
- Concrete mixer
- Extension ladder if needed
Step 4: Layout and Mark Your Footprint
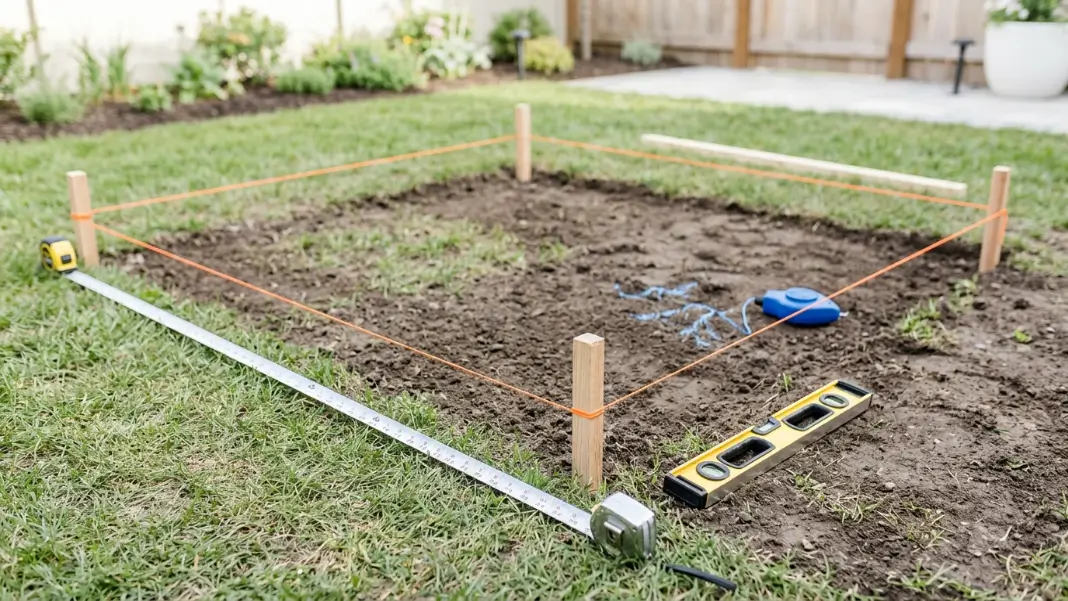
Accurate layout at this stage makes every single step easier from this point forward. A gazebo that is even slightly out of square creates compounding problems as you build upward that are very difficult to correct later.
Use the 3-4-5 triangle method to check your corners are perfectly square. Measure 3 feet along one side, 4 feet along the adjacent side, and the diagonal between those two points should measure exactly 5 feet. If it does not, adjust until it does.
Layout Steps in Order
- Drive a stake at your first corner
- Measure out your first side and drive a second stake
- Use the 3-4-5 method to set your square corner
- Run string lines between all corners
- Double-check diagonal measurements are equal
- Mark post hole centers with spray paint
The diagonal measurement trick is the fastest way to confirm a square layout. Measure corner to corner in both directions and the numbers should match exactly. Even a half-inch difference here will show up as a visible problem in your finished roof line.
Step 5: Dig and Set Your Footings
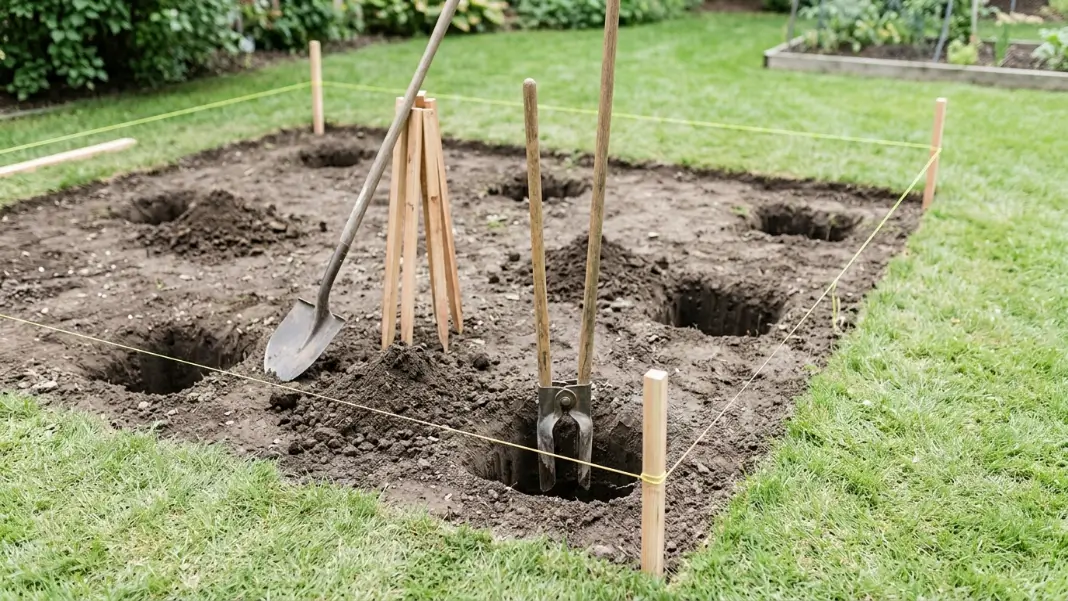
This is the most physically demanding part of the build and also the most important. Footings that are too shallow or not filled properly will allow posts to shift over time and that movement works its way up through the entire structure.
Footing depth depends on your local frost line. In cold climates you need to dig below the frost line which can be 36 inches or more. In warmer climates 18 to 24 inches is typically sufficient. Your local building department can tell you the exact requirement for your area.
Footing Installation Steps
- Dig holes to required depth for your climate
- Add 4 inches of gravel at the bottom for drainage
- Set tube forms if required by local code
- Mix and pour concrete to ground level
- Insert post base hardware while concrete is wet
- Check bases are level and aligned with string lines
- Allow concrete to cure for minimum 48 hours before building
Do Not Rush the Concrete Cure Time
This is the point where impatient builders create structural problems. Concrete reaches about 70 percent of its full strength in the first 48 hours but continues curing for weeks. Load-bearing posts should not go on until the concrete is properly set.
Signs Your Concrete Is Ready
- Surface is hard with no soft spots
- Color has lightened uniformly
- No moisture seeping to the surface
- Minimum 48 hours have passed
Step 6: Set and Brace Your Posts
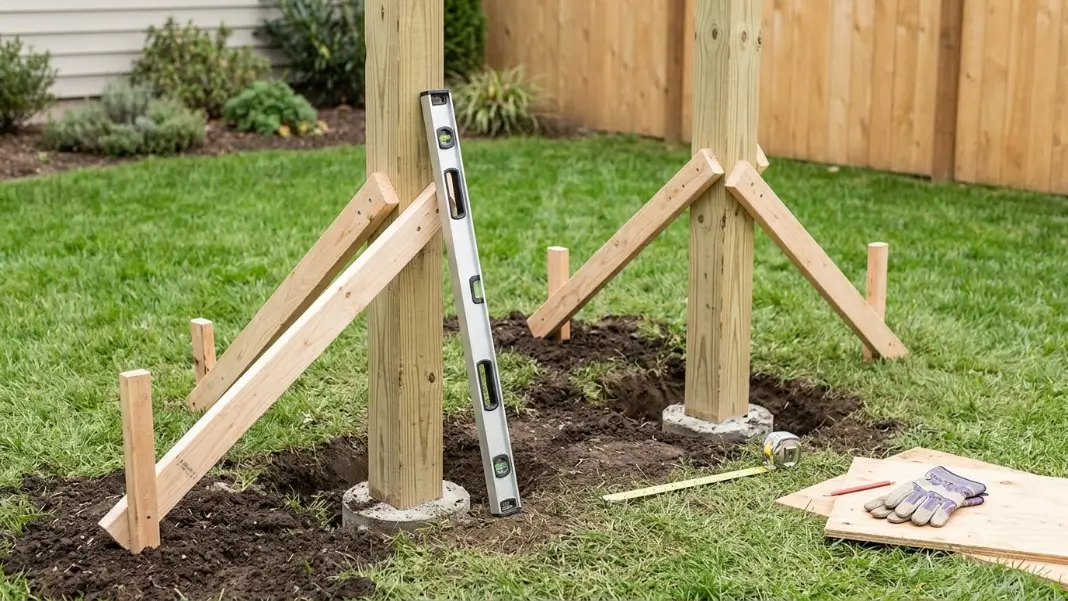
Setting posts plumb, which means perfectly vertical in all directions, is the skill that separates a clean-looking gazebo from one that looks slightly off no matter what you do to it. Take your time here and check each post with a level on two adjacent faces before securing it.
Post bases bolted to your concrete footings hold the posts up off the ground which prevents moisture from wicking into the end grain and causing rot. Never set posts directly in concrete without a base unless you are using concrete-rated pressure-treated lumber.
Post Setting Steps
- Set post into base hardware
- Check plumb on two adjacent sides
- Secure with temporary diagonal braces
- Fasten post to base with appropriate bolts
- Recheck plumb after fastening
- Leave braces in place until beams are installed
Temporary Bracing Keeps Posts in Position
Cut 2×4 diagonal braces and screw them from each post down to a stake in the ground. These stay in place until the perimeter beams are installed and the structure becomes self-supporting. Removing braces too early is one of the most common beginner mistakes.
Bracing Materials Per Post
- Two 2×4 braces at 45 degree angles
- Deck screws to attach to post
- Ground stakes to anchor base of brace
- String line to verify alignment across posts
Step 7: Install the Perimeter Beams
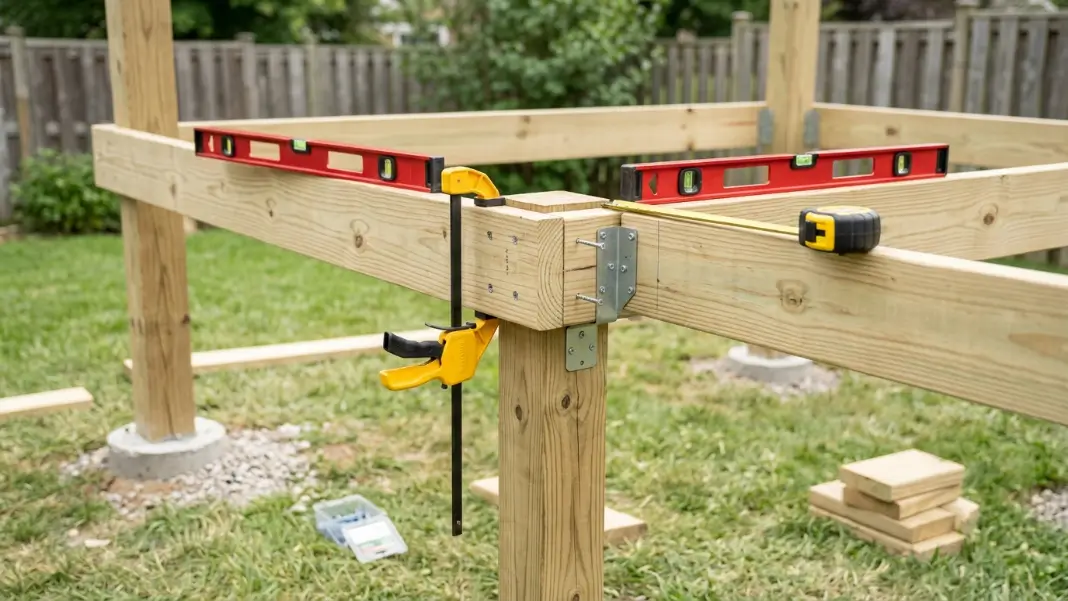
The perimeter beams connect your posts at the top and create the frame that the roof structure sits on. Getting these level with each other is critical because an unlevel beam frame creates a roof that sheds water in the wrong direction.
Use a long level or a water level to transfer your height mark from one post to the next. Mark the height on each post before lifting any lumber so you know exactly where each beam lands before the heavy lifting starts.
Beam Installation Steps
- Mark beam height on all posts at the same level
- Cut beams to length with angle cuts at corners
- Pre-drill bolt holes to prevent splitting
- Lift beam into position with a helper
- Clamp in place before fastening
- Drive lag bolts through beam into post
- Check level across all beams before moving on
Always pre-drill bolt holes in wood beams before driving lag bolts. Skipping this splits the lumber and weakens the connection. A split beam looks bad and costs you money in replacement lumber.
Step 8: Frame the Roof
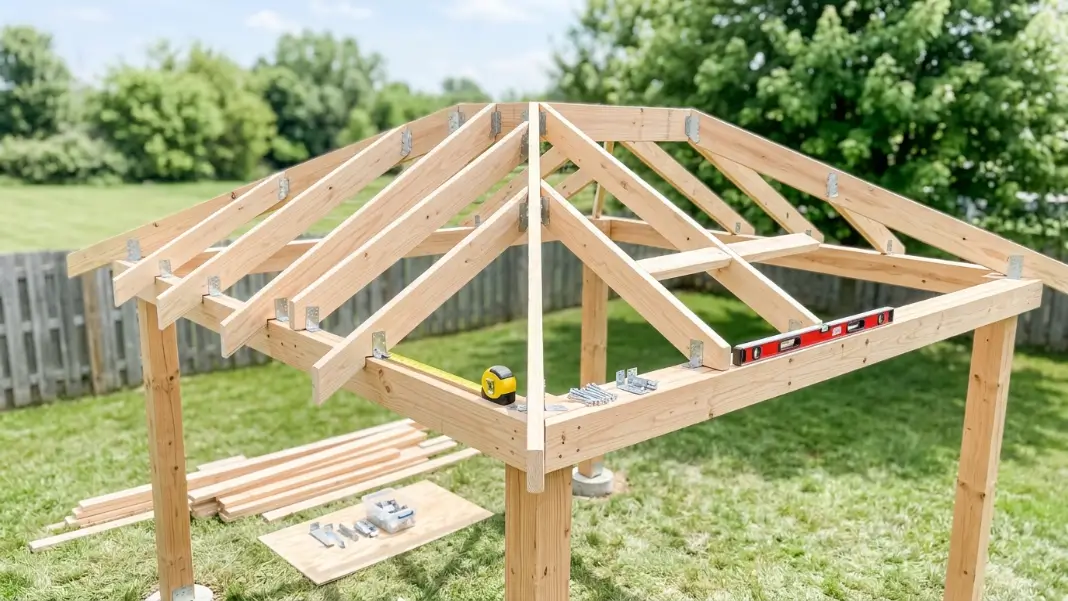
A simple gable or hip roof frame for a square gazebo uses a central ridge board or hub and rafters that run from that center point down to the perimeter beams. Pre-cutting all your rafters to the same length and angle before installation makes the process much faster and more consistent.
For a hexagonal gazebo, all six rafters meet at a central hub at the peak. You can buy pre-made rafter hub connectors that make this junction clean and structurally solid without requiring advanced carpentry skills.
Roof Framing Steps
- Install center ridge board or hub connector
- Cut all rafters to matching length and angle
- Install rafter at each corner or post first
- Fill in intermediate rafters evenly spaced
- Install blocking between rafters at perimeter
- Add collar ties if your design requires them
Roof Style Options for Beginners
- Simple hip roof: slopes on all sides, great for rain runoff
- Pyramid roof: all sides meet at a single peak, common on hex gazebos
- Gable roof: two slopes, easiest to frame
- Bell curve roof: decorative curved profile, requires more skill
Step 9: Install Roofing Material
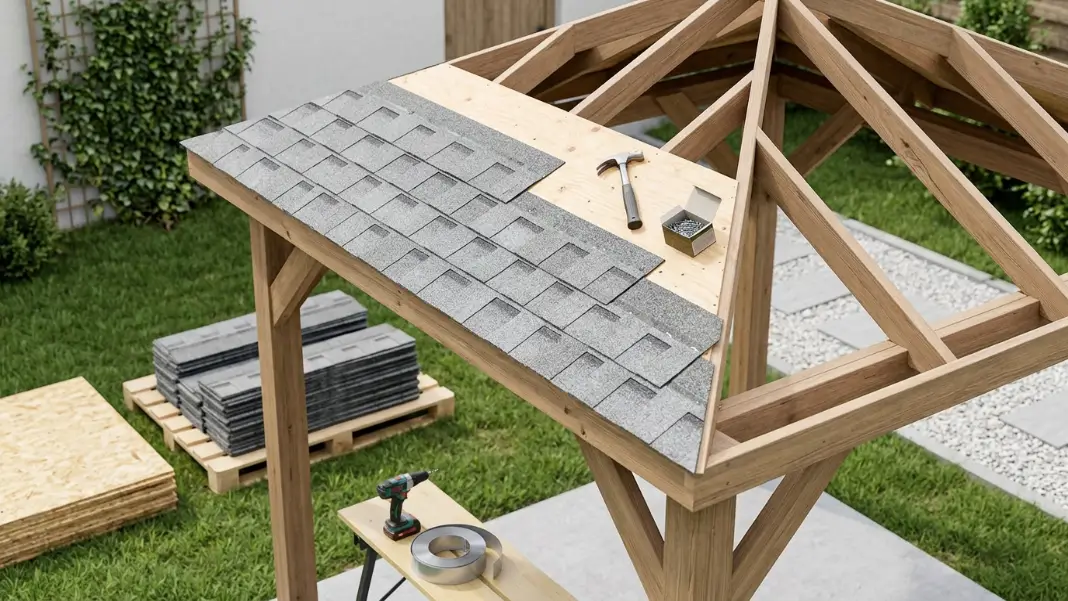
The roofing material you choose affects how the gazebo looks, how long it lasts, and how well it handles rain and sun in your specific climate. Asphalt shingles are the most beginner-friendly option because they are easy to cut, widely available, and require no special skills to install correctly.
Metal roofing panels are a longer-lasting choice that suits modern and rustic styles equally well. They shed water faster than shingles and hold up better in heavy snow climates.
Roofing Material Options
- Asphalt shingles: affordable, beginner-friendly, 20 to 30 year lifespan
- Metal panels: durable, fast water runoff, modern look
- Cedar shingles: natural aesthetic, premium cost, excellent longevity
- Polycarbonate panels: lets light through, good for pergola-style roofs
- Thatch panels: tropical look, requires replacement every few years
Start Roofing From the Bottom Up
Install roofing material starting at the lowest edge and working upward so each row overlaps the one below it. This overlap direction is what sheds water away from the structure rather than allowing it to get underneath the material.
Roofing Installation Steps
- Install drip edge along the bottom perimeter
- Staple roofing felt or underlayment over sheathing
- Start first shingle row at the bottom edge
- Work upward with each row overlapping the last
- Cut ridge cap pieces and install at the peak
- Seal all penetrations and joints with roofing caulk
Step 10: Add the Finishing Details
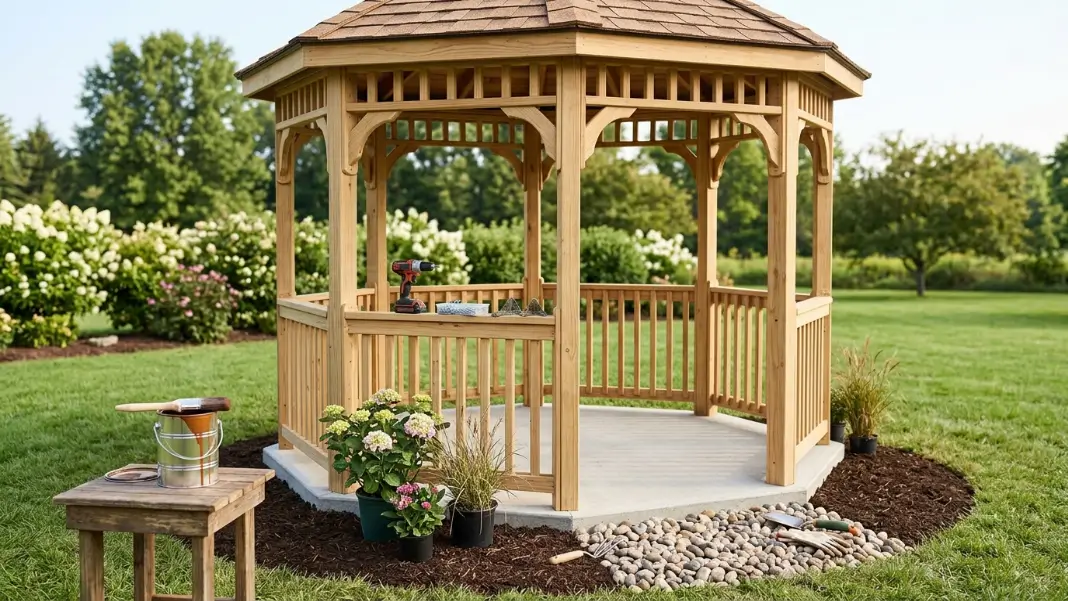
Trim pieces, fascia boards, and decorative rafter tails are what separate a gazebo that looks handbuilt in the best way from one that just looks rough. These details take a fraction of the total build time but make up a large part of the visual impact.
Railing and balusters are optional depending on your design but they add safety, privacy, and a finished look that makes the structure feel intentional rather than bare.
Finishing Details to Consider
- Fascia boards along roof edges
- Decorative rafter tails at the perimeter
- Wood railing and balusters
- Lattice panels for partial privacy
- Exterior wood stain or paint
- String lights or ceiling fan mounting
Seal and Protect the Wood Before You Use It
Apply a quality exterior wood sealant or stain to all exposed wood surfaces before you start using the gazebo. This step is easy to skip when you are excited to be finished but it is what protects your investment from the first rain season onward.
Wood Protection Options
- Clear penetrating sealant: preserves natural wood color
- Semi-transparent stain: adds color while showing wood grain
- Solid stain: full color coverage, maximum UV protection
- Paint: longest-lasting finish, most color options
Take photos at every stage of your build, especially footings, post bases, and framing connections. These photos are useful for permit inspections, future repairs, and if you ever want to build another one. They also make a great record of what is inside the walls if something needs fixing years later.
Frequently Asked Questions
1. How long does it take to build a gazebo from scratch?
Most beginners finish a 10×10 gazebo in two to three weekends. The concrete curing time between footings and framing adds at least two days to the total timeline.
2. How much does it cost to build a gazebo yourself?
A basic DIY gazebo using pressure-treated lumber typically costs between 500 and 1,500 dollars in materials depending on size and roofing choice. Cedar and premium materials push that higher.
3. Do I need construction experience to build a gazebo?
No prior experience is required for a basic square or hexagonal design. Following a clear plan, taking your time on layout and footings, and checking your work at each step is all you need.
4. What is the best size gazebo for a beginner to build?
A 10×10 foot square is the most manageable first build. It is large enough to be useful and small enough to handle without a large crew or complicated framing.
5. What tools do I absolutely need to start?
A circular saw, power drill, level, tape measure, and speed square cover the majority of the work. A post hole auger is worth renting rather than buying for a single build.
Final Thoughts
Building a gazebo from scratch is one of the most rewarding weekend projects you can take on as a homeowner. The process is straightforward when you break it into clear steps and the result is a permanent structure that adds real value and usability to your outdoor space.
Follow the steps in order, do not rush the concrete, and check your work for level and plumb at every stage. Those three habits alone will get a first-time builder to a result they are genuinely proud of.
Take your time, enjoy the process, and by the end of the second weekend you will have a backyard feature that most people would never guess you built yourself.